Kia Carens: Audio / Audio Unit Repair procedures
Kia Carens RP (2013-2018) Service Manual / Body Electrical System / Audio / Audio Unit Repair procedures
| Removal |
| 1. |
Disconnect the negative (-) battery terminal.
|
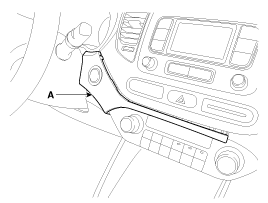
| 2. |
Remove the center garnish (A).
|
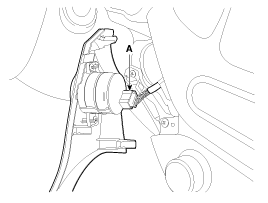
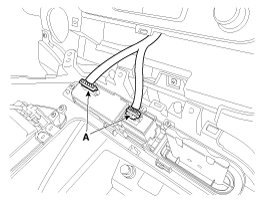
| 3. |
Disconnect the start stop button connector (A) from the center garnish.
|
| 4. |
Remove the heater and A/C controll unit (A) after loosening the screws.
|
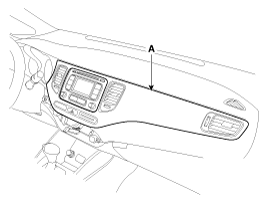
| 5. |
Remove the center fascia (A).
|
| 6. |
Disconnect the connectors (A) from the center fascia.
|
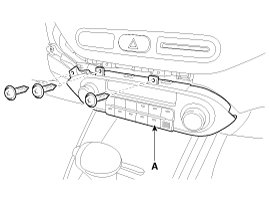
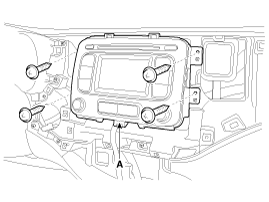
| 7. |
Remove the audio head unit (A) after loosening the screws.
|
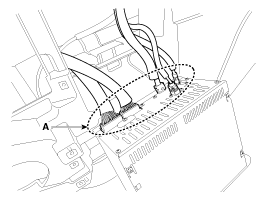
| 8. |
Disconnect the connectors and cables (A).
|

| Installation |
| 1. |
Connect the connectors and cables.
|
| 2. |
Install the audio head unit.
|
| 3. |
Install the center fascia, heater and A/C control unit and center garnish.
|
| 4. |
Connect the negative (-) battery terminal.
|
 Audio Unit Components and components location
Components
Connector Pin Information
No.
Connector A
Connector B
1
Rear left speaker (+)
-
...
 Speakers Repair procedures
Inspection
1.
Troubleshooting for Speaker
(1)
Basic inspection of speaker
Inspect the sound from speaker after verifying ...
Other information:
Kia Carens RP (2013-2018) Service Manual: Positive Crankcase Ventilation (PCV) Valve Repair procedures
Removal 1. Disconnect the vapor hose (A). 2. Remove the PCV valve (B). Inspection 1. Insert a thin stick (A) into the PCV valve (B) from the threaded side to check that the plunge ...
Kia Carens RP (2013-2018) Service Manual: Components and components location
Component Location 1. Front height motor 2. Extension motor 3. Slide motor 4. Rear height motor 5. Lumbar support motor 6. Recline motor 7. Extension switch 8. Power seat switch 9. Recline switch 10. Lumbar support switch ...
Copyright © www.kicaman.com 2015-2026
