
Kia Carens: Rear Suspension System / Rear Shock Absorber Repair procedures
Kia Carens RP (2013-2018) Service Manual / Suspension System / Rear Suspension System / Rear Shock Absorber Repair procedures
| Replacement |
| 1. |
Loosen the wheel nuts slightly. Raise the vehicle, and make sure it
is securely supported.
|
| 2. |
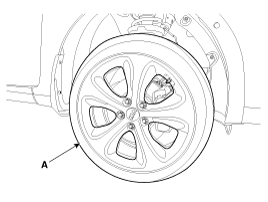
Remove the front wheel and tire (A) from front hub.
|

| 3. |
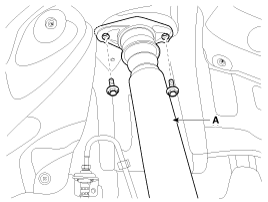
Loosen the rear shock absorber (A) upper mounting bolt.
|
| 4. |
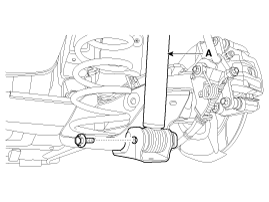
Loosen the bolt and then remove the rear shock absorber (A) from the
torsion beam axle.
|
| Inspection |
| 1. |
Check the rubber parts for wear and deterioration.
|
| 2. |
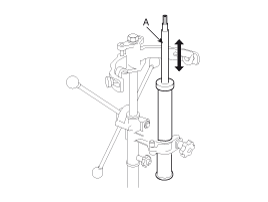
Compress and extend the piston rod (A) and check that there is no abnormal
resistance or unusual sound during operation.
|
Disposal
| 1. |
Fully extend the piston rod.
|
| 2. |
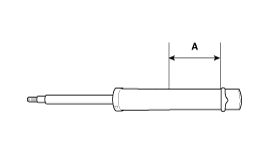
Drill a hole on the (A) section to remove gas from the cylinder.
|
 Rear Shock Absorber Components and components location
Components
1. Shock absorber assembly
2. Dust cover
3. Bump stopper
4. Cup
5. Insulatol assembly
6. Lock nut
...
 Rear Coil Spring Components and components location
Components
1. Spring upper pad
2. Spring
3. Spring lower pad
...
Other information:
Kia Carens RP (2013-2018) Service Manual: Engine Coolant Temperature Sensor (ECTS) Repair procedures
Inspection 1. Turn the ignition switch OFF. 2. Remove the ECTS (Refer to "Removal"). 3. After immersing the thermistor of the sensor into engine coolant, measure resistance between the ECTS ...
Kia Carens RP (2013-2018) Service Manual: Front Bumper Cover Components and components location
Component Location 1. Front bumper cover ...
Copyright © www.kicaman.com 2015-2026
