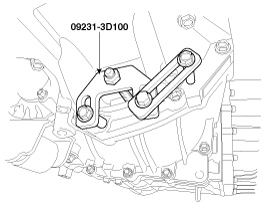
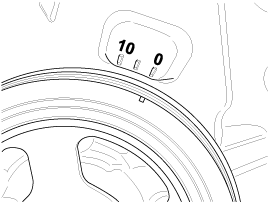
Kia Carens: Timing System / Crankshaft Damper Pulley Repair procedures
Kia Carens RP (2013-2018) Service Manual / Engine Mechanical System / Timing System / Crankshaft Damper Pulley Repair procedures
| Removal and Installation |
| 1. |
Remove the drive belt.
(Refer to Timing System - "Dreve Belt")
|
| 2. |
Remove the engineroom under cover.
|
| 3. |
Remove the passenger side front tire.
|
| 4. |
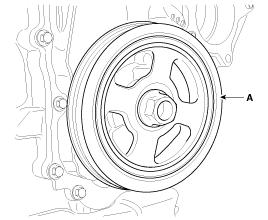
Remove the crankshaft damper pulley (A).
|
| 5. |
When installing the pulley, the groove on the pulley should be positioned
outside.
|
 Crankshaft Damper Pulley Components and components location
Components
1. Crankshaft damper pulley
...
 Front Oil Seal Components and components location
Components
1. Front oil seal
...
Other information:
Kia Carens RP (2013-2018) Service Manual: Cylinder Head Repair procedures
Removal Engine removal is not required for this procedure. • Use fender covers to avoid damaging painted surfaces. • To avoid dam ...
Kia Carens RP (2013-2018) Service Manual: Components and components location
Components Location 1. Manual transaxle assembly Components 1. Control shaft complete 2. Back-up lamp switch 3. Control cable bracket 4. Speed sensor ...
Copyright © www.kicaman.com 2015-2026


