Kia Carens: Heater / Evaporator Core Repair procedures
Kia Carens RP (2013-2018) Service Manual / Heating,Ventilation And Air Conditioning / Heater / Evaporator Core Repair procedures
| Replacement |
| 1. |
Disconnect the negative (-) battery terminal.
|
| 2. |
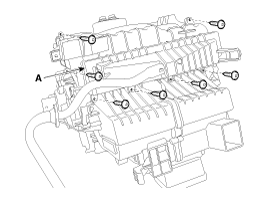
Remove the heater and blower assembly.
(Refer to Heater -"Heater Unit")
|
| 3. |
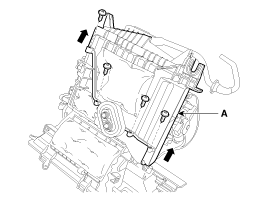
Remove the heater unit lower case (A) after loosening the mounting screws.
|
| 4. |
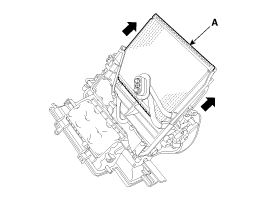
Pull out the evaporator core (A) from the heater unit.
|
| 5. |
Install in the reverse order of removal.
|
 Heater Core Repair procedures
Replacement
1.
Disconnect the negative (-) battery terminal.
2.
Remove the heater and blower assembly.
(Refer to Heater -" ...
 PTC Heater (Diesel only) Description and operation
Description
The PTC (Positive Temperature Coefficient) heater is installed at the exit or
the backside of the heater core.
The PTC heater is an electric heater using a PTC elem ...
Other information:
Kia Carens RP (2013-2018) Service Manual: Parking Brake Cable Repair procedures
Removal The parking brake cables must not be bent or distorted. This will lead to stiff operation and premature failure. 1. Remove the floor console assembly. ...
Kia Carens RP (2013-2018) Owners Manual: Headlight (Headlamp) welcome function
When the headlight switch is in the ON or AUTO position and all doors (and tailgate) are closed and locked, if you press the door unlock button on the transmitter or smart key, the headlights will come on for about 15 seconds. If the headlight switch is in the AUTO position, the function can only ...
Copyright © www.kicaman.com 2015-2026


