Kia Carens: Floor Console / Floor Console Assembly Repair procedures
Kia Carens RP (2013-2018) Service Manual / Body (Interior and Exterior) / Floor Console / Floor Console Assembly Repair procedures
| Replacement |
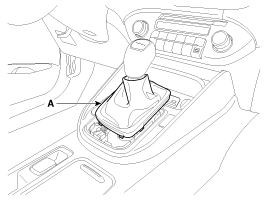
[M/T]
|

|

| 1. |
Disconnect the gear boots (A).
|
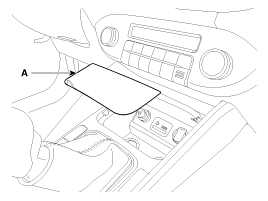
| 2. |
Remove the floor console upper cover pad (A).
|
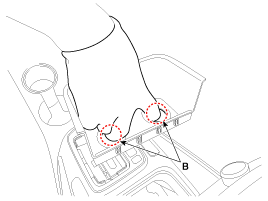
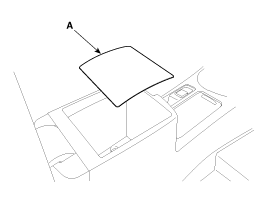
| 3. |
To remove the floor console front tray (A), put your fingrers into the
holes (B) and pull it up.
|
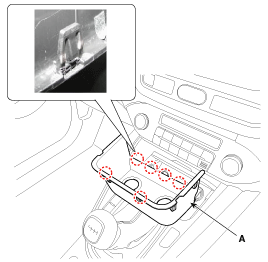
| 4. |
Using a screwdriver or remover, remove the floor console upper cover
(A).
|
| 5. |
Disconnec the connectors (A) from the floor console upper cover .
|
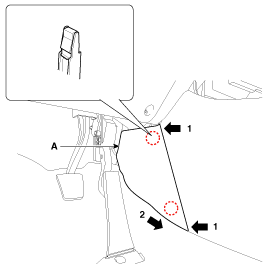
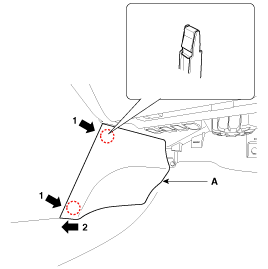
| 6. |
Remove it console extension cover (A) by pushing it rearward.
[LH]
[RH]
|
| 7. |
Remove the console armrest met (A).
|
| 8. |
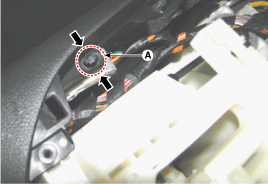
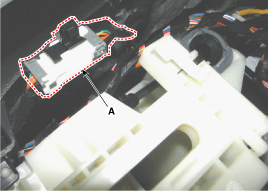
Disconnect the rear power outlet connector mounting clip (A).
|
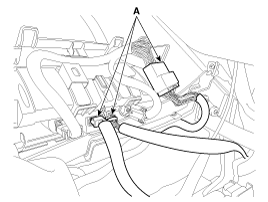
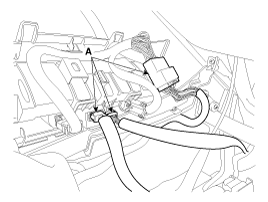
| 9. |
Disconnect the rear power outlet connector (A).
|
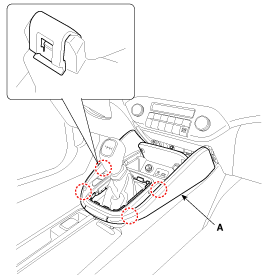
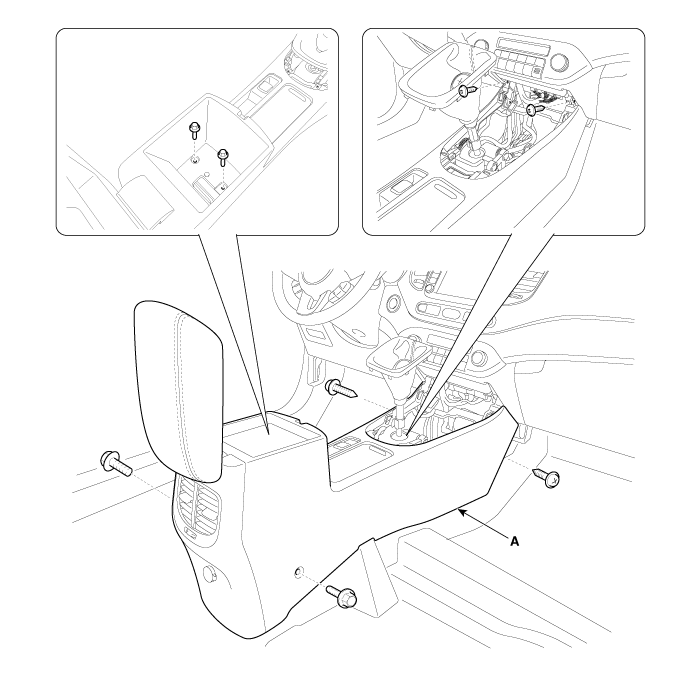
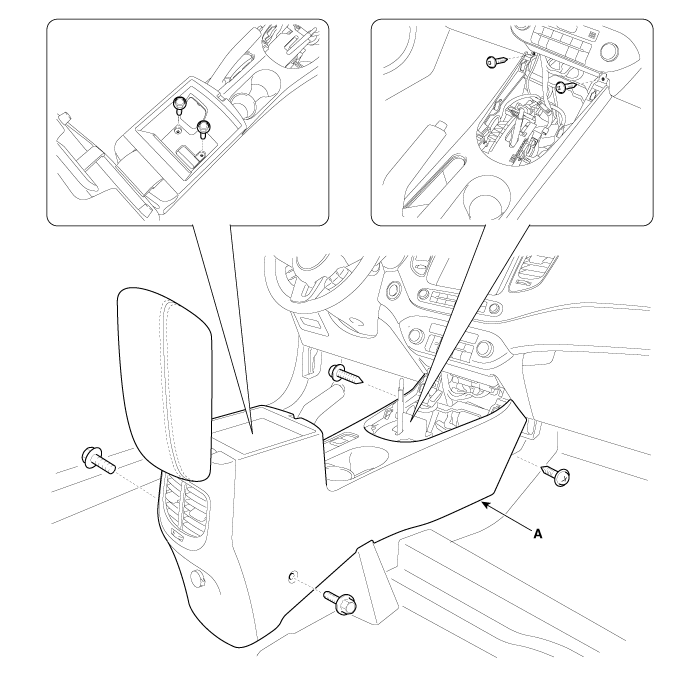
| 10. |
After loosening the mounting screws and bolts, then remove the floor
console assembly (A).
|
| 11. |
Install in the reverse order of removal.
|

| [A/T] |
|
|
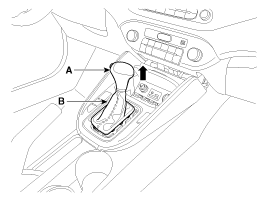
| 1. |
To remove the gear knob (A) and gear boots (B) pull both of it up.
|
| 2. |
Remove the floor console upper cover pad (A).
|

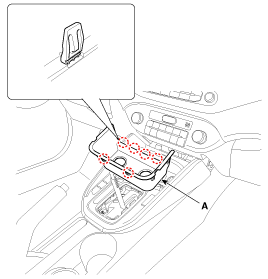
| 3. |
To remove the floor console front tray (A), put your fingrers into the
holes (B) and pull it up.
|
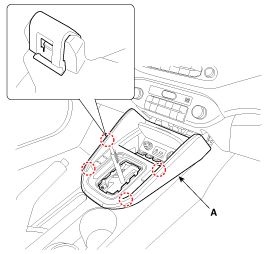
| 4. |
Using a screwdriver or remover, remove the floor console upper cover
(A).
|
| 5. |
Disconnec the connectors (A) from the floor console upper cover .
|
| 6. |
Using a screwdriver or remover, remove the parking brake cover (A).
|
| 7. |
Remove it console extension cover (A) by pushing it rearward.
[LH]
[RH]
|
| 8. |
Remove the console armrest met (A).
|
| 9. |
Disconnect the rear power outlet connector mounting clip (A).
|
| 10. |
Disconnect the rear power outlet connector (A).
|
| 11. |
After loosening the mounting screws and bolts, then remove the floor
console assembly (A).
|
| 12. |
Install in the reverse order of removal.
|
 Floor Console Assembly Components and components location
Component Location
1. Floor console assembly
...
 Rear Console Cover Components and components location
Component Location
1. Rear console cover
...
Other information:
Kia Carens RP (2013-2018) Service Manual: Roof Trim Assembly Repair procedures
Replacement • Put on gloves to protect your hands. • When ...
Kia Carens RP (2013-2018) Owners Manual: Floor mat anchor(s)
When using a floor mat on the front floor carpet, make sure it attaches to the floor mat anchor(s) in your vehicle. This keeps the floor mat from sliding forward. WARNING The following must be observed when installing ANY floor mat to the vehicle. Ensure that the floor mats are securely attached ...
Copyright © www.kicaman.com 2015-2026
