
Kia Carens: Manual Transaxle Control System / Control Shaft Complete Repair procedures
Kia Carens RP (2013-2018) Service Manual / Manual Transaxle System / Manual Transaxle Control System / Control Shaft Complete Repair procedures
| Removal |
| 1. |
Remove the air cleaner assembly.
(Refer to Engine Mechanical System - "Air Cleaner")
|
| 2. |
Remove the battery and battery tray.
(Refer to Engine Electrical System - "Battery")
|
| 3. |
Set shift lever to "N" position.
|
| 4. |
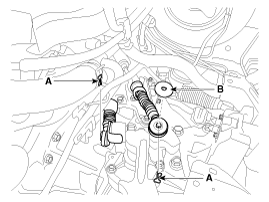
Separate the control cable from the control shaft after remove the pin
(A) and washer (B).
|
| 5. |
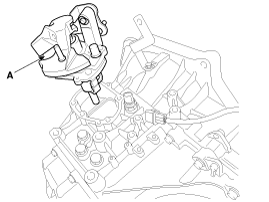
Remove the control shaft assembly after loosen the bolts.
|
| Installation |
| 1. |
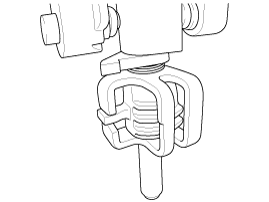
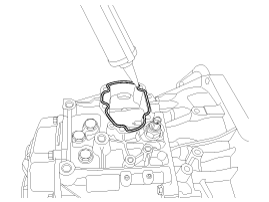
Install in the reverse order of removal.
|

| 2. |
After installing, check to be sure that this part operates as designed
at each range of T/M side corresponding to each position of shift lever.
|
 Control Shaft Complete Description and operation
Description
Component location : Control shaft assembly is mounted on the top of the manual
transaxle
Function : Change the gear by shifting a shift lever. ...

Other information:
Kia Carens RP (2013-2018) Service Manual: Luggage Side Trim Components and components location
Component Location 1. Luggage side trim ...
Kia Carens RP (2013-2018) Service Manual: Components and components location
Component Location Item Description SPAS SPAS unit (ECU) • Calculate the parking trace of wheels • Calculate and ask the demand angle to MDPS • Warning and detection l ...
Copyright © www.kicaman.com 2015-2026
